Table of Contents
Proper Maintenance Techniques for Can Seamer Machines
Can seamer machines are essential equipment in the food and beverage industry for sealing cans to ensure product freshness and safety. Proper maintenance of these machines is crucial to ensure they operate efficiently and effectively. One important aspect of maintenance is adjusting the can seamer machine to ensure it seals cans properly. In this article, we will discuss how to adjust the can seamer machine to achieve optimal performance.
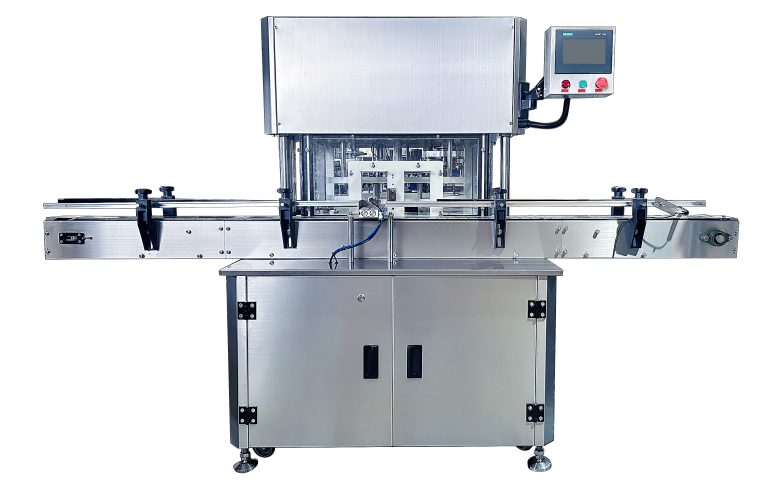
Before adjusting the can seamer machine, it is important to understand the components of the machine and how they work together to seal cans. The main components of a can seamer machine include the seaming rolls, chuck, lifter, and seaming head. The seaming rolls are responsible for forming the seam on the can lid, while the chuck holds the can in place during the seaming process. The lifter lifts the can into position, and the seaming head applies pressure to seal the can.
To adjust the can seamer machine, start by inspecting the seaming rolls to ensure they are in good condition. If the seaming rolls are worn or damaged, they should be replaced to ensure a proper seal. Next, check the chuck to make sure it is securely holding the can in place. If the chuck is loose or damaged, it may need to be adjusted or replaced.
After inspecting the seaming rolls and chuck, adjust the lifter to ensure the can is lifted into the correct position for seaming. The lifter should be adjusted so that the can is positioned properly under the seaming head. This will help ensure a tight seal on the can lid.
Once the seaming rolls, chuck, and lifter are adjusted, it is time to adjust the seaming head. The seaming head should be adjusted to apply the correct amount of pressure to seal the can. If the seaming head is applying too much pressure, it can damage the can lid or cause leaks. If it is not applying enough pressure, the can may not be properly sealed.
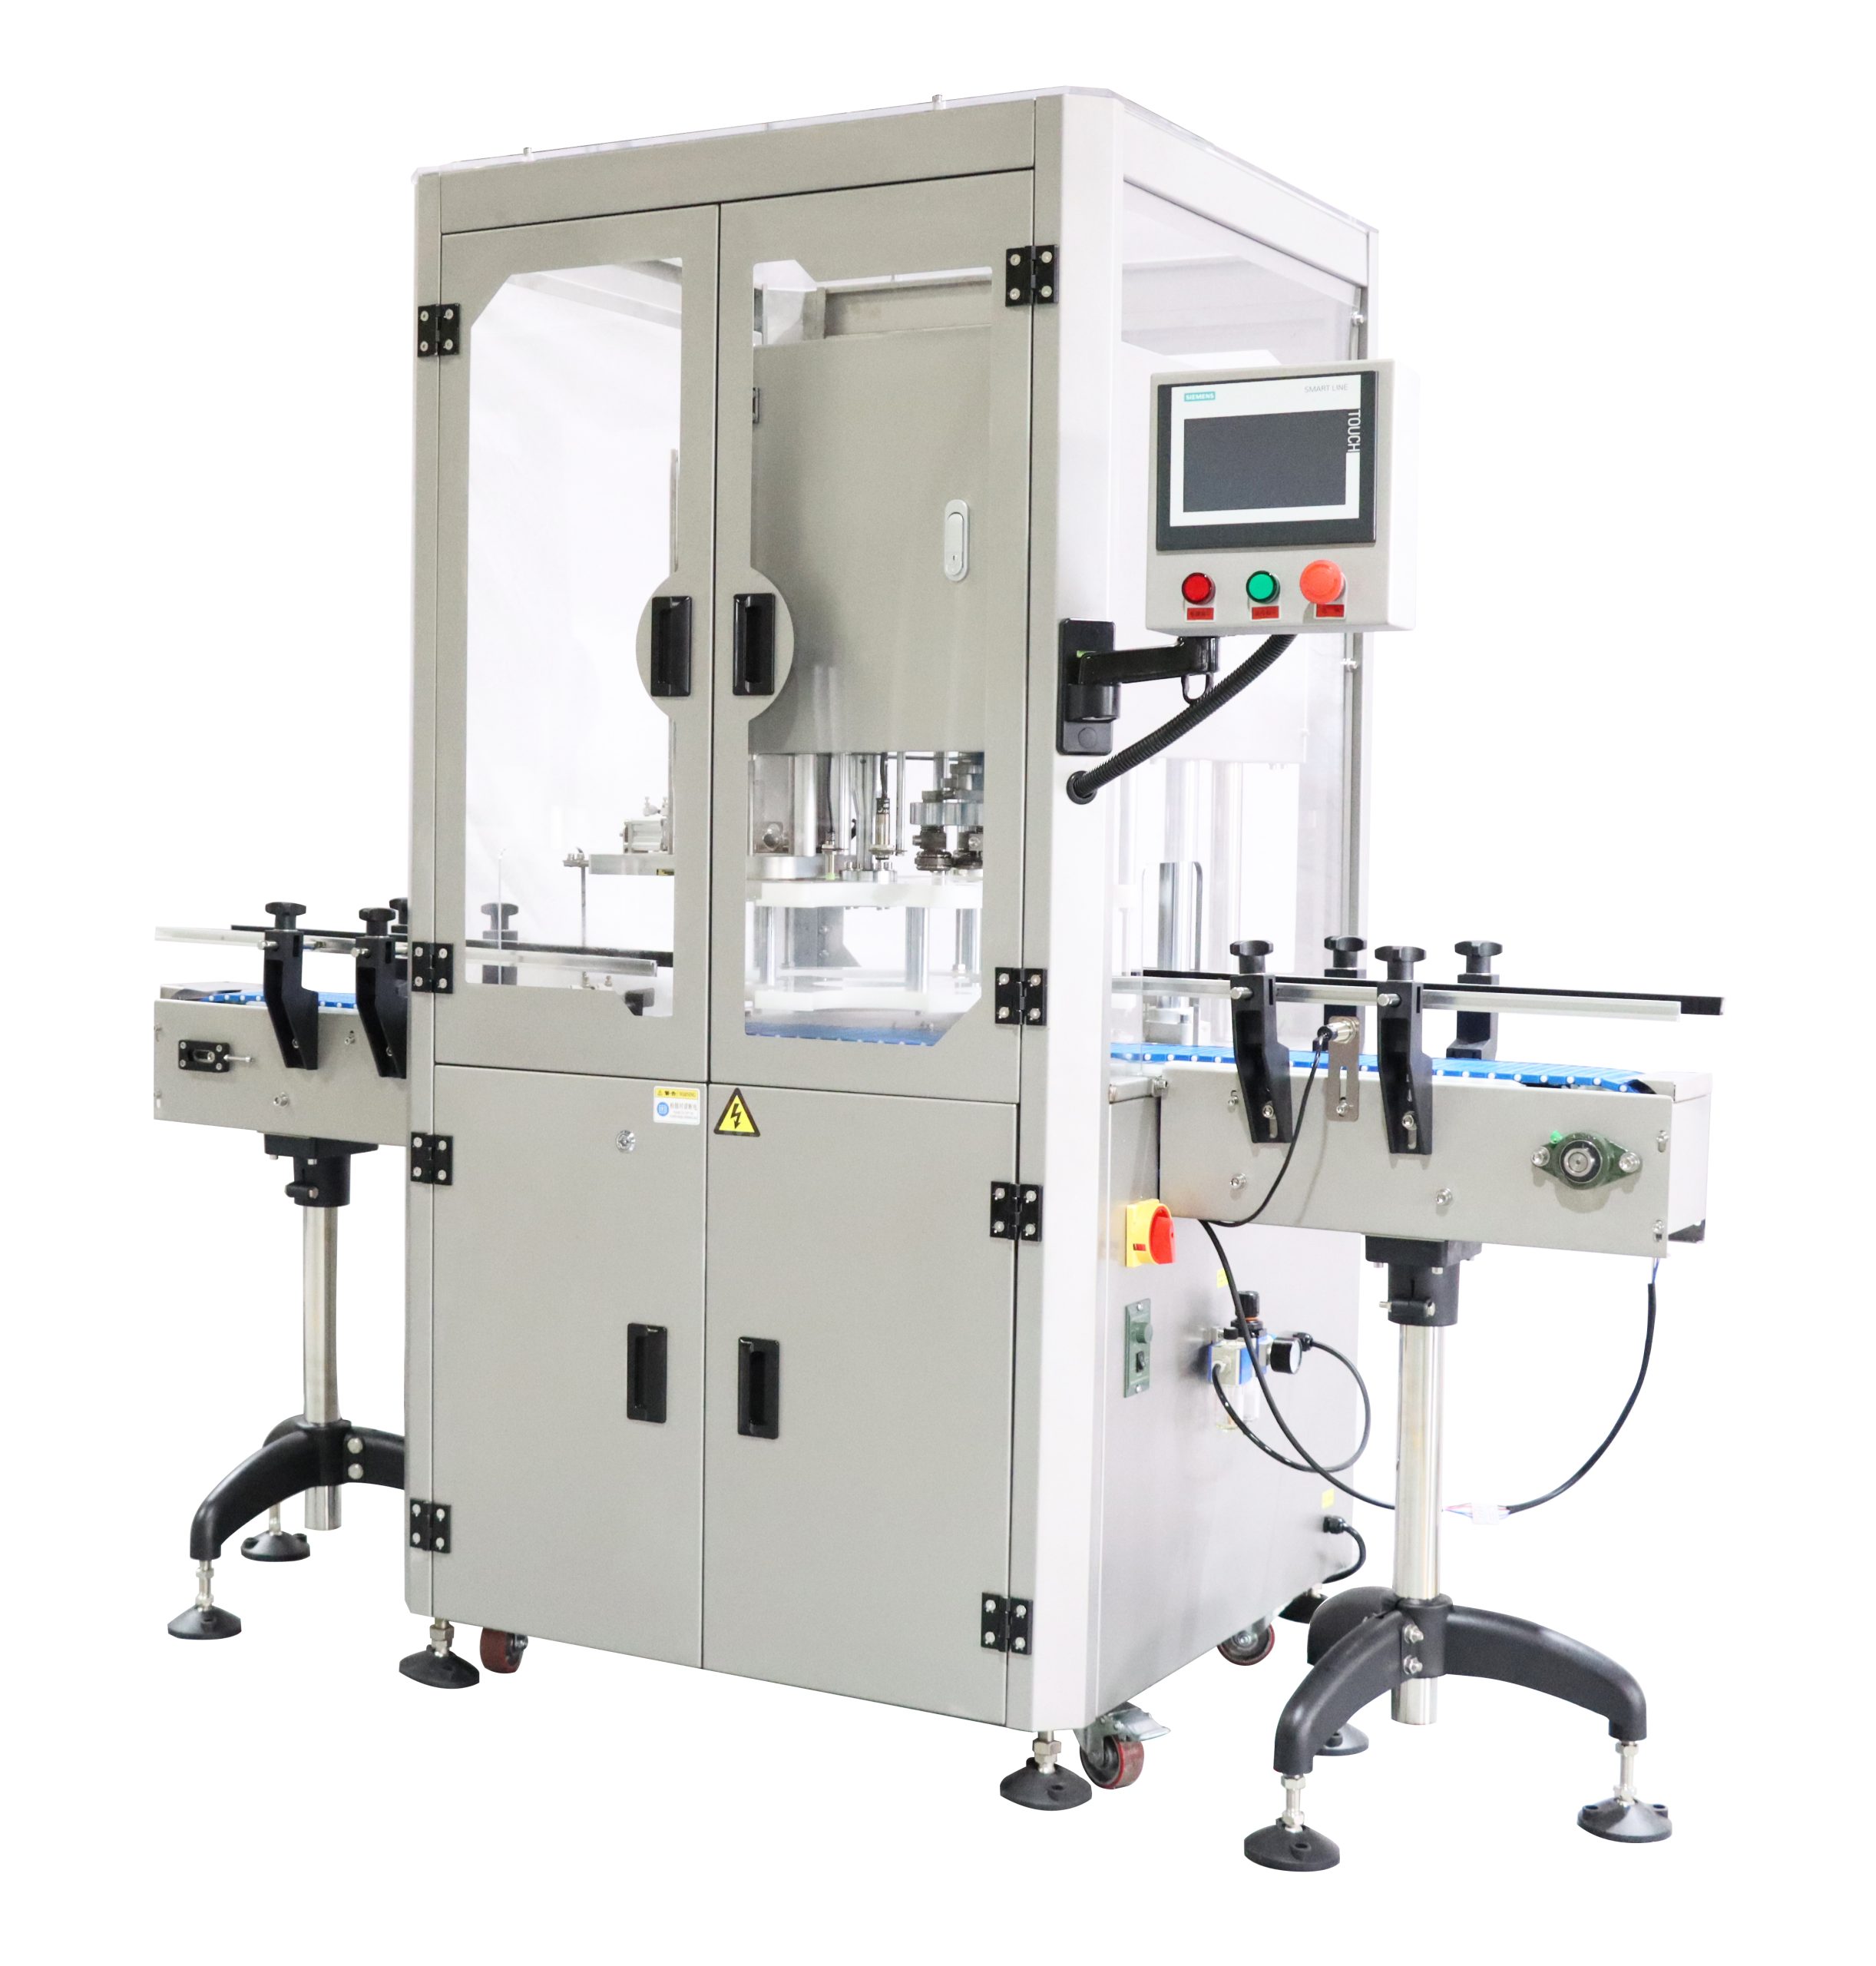
When adjusting the seaming head, start by adjusting the height of the seaming head to ensure it is in the correct position relative to the can lid. Then, adjust the pressure settings on the seaming head to achieve the desired seal. It may take some trial and error to find the optimal pressure settings for your specific can seamer machine.
After adjusting the seaming head, run a test batch of cans through the machine to ensure they are properly sealed. Inspect the seams on the cans to make sure they are tight and free of leaks. If any cans are not properly sealed, make further adjustments to the seaming rolls, chuck, lifter, or seaming head as needed.
In conclusion, adjusting the can seamer machine is an important part of proper maintenance to ensure it operates efficiently and effectively. By inspecting and adjusting the seaming rolls, chuck, lifter, and seaming head, you can achieve optimal performance from your can seamer machine. Regular maintenance and adjustments will help prolong the life of your machine and ensure the quality and safety of your canned products.
Troubleshooting Common Issues with Can Seamer Machines
Can seamer machines are essential tools in the packaging industry, used to seal cans securely and prevent contamination. However, like any piece of machinery, they can encounter issues that may affect their performance. One common problem that can arise with can seamer machines is misalignment, which can lead to improper sealing and wasted product. In this article, we will discuss how to adjust a can seamer machine to ensure it is operating correctly.
The first step in adjusting a can seamer machine is to identify the source of the problem. Misalignment can occur for a variety of reasons, such as worn or damaged parts, improper setup, or operator error. Once the cause of the misalignment has been determined, adjustments can be made to correct the issue.
One of the most common causes of misalignment in can seamer machines is worn or damaged parts. Over time, the components of the machine can become worn down, leading to misalignment and poor sealing. To address this issue, it is important to regularly inspect the machine for signs of wear and replace any damaged parts as needed. This will help to ensure that the machine operates smoothly and seals cans properly.
Another common cause of misalignment in can seamer machines is improper setup. If the machine is not set up correctly, it may not seal cans properly, leading to leaks and contamination. To adjust the machine, it is important to follow the manufacturer’s instructions for setup and make any necessary adjustments to ensure that the machine is aligned correctly. This may involve adjusting the height of the seaming rollers, adjusting the pressure settings, or making other minor adjustments to the machine.
Operator error can also contribute to misalignment in can seamer machines. If the operator is not properly trained or does not follow proper procedures, it can lead to misalignment and poor sealing. To address this issue, it is important to provide thorough training to operators and ensure that they understand how to operate the machine correctly. This will help to prevent misalignment and ensure that the machine operates efficiently.
In addition to addressing misalignment, there are other adjustments that may need to be made to a can seamer machine to ensure it is operating correctly. For example, the machine may need to be calibrated periodically to ensure that it is sealing cans at the correct pressure. This can help to prevent leaks and ensure that the product is properly sealed.
Overall, adjusting a can seamer machine is an important part of maintaining its performance and ensuring that it operates correctly. By identifying the source of misalignment, making necessary adjustments, and providing proper training to operators, it is possible to prevent issues and keep the machine running smoothly. With regular maintenance and attention to detail, can seamer machines can continue to seal cans securely and efficiently, helping to protect the quality of the product and prevent contamination.

